Raspberry Pi Setup Guide

We recommend using Viam on a 64-bit Linux distribution. Support for older Raspberry Pis running on 32-bit ARM v7 is in beta.
If you already have a Linux distribution installed on your Pi, you can skip ahead to install To check whether the Linux installation on your Raspberry Pi is 64-bit or 32-bit, Example output: If the value of “Architecture: ‘xxxxxx’” ends in “64”, you can skip ahead to install viam-server.
Click to check whether the Linux installation on your Raspberry Pi is 64-bit or 32-bit
ssh into your Pi and then run lscpu.
viam-server.
Hardware requirements
- A Raspberry Pi single-board computer
- A microSD card
- An internet-connected computer
- A way to connect the microSD card to the computer (microSD slot or microSD reader)
Install Raspberry Pi OS
The Raspberry Pi boots from a microSD card. You need to install Raspberry Pi OS (formerly called Raspbian) on the microSD card you will use with your Pi:
Connect the microSD card to your computer.
Download the Raspberry Pi Imager and launch it.
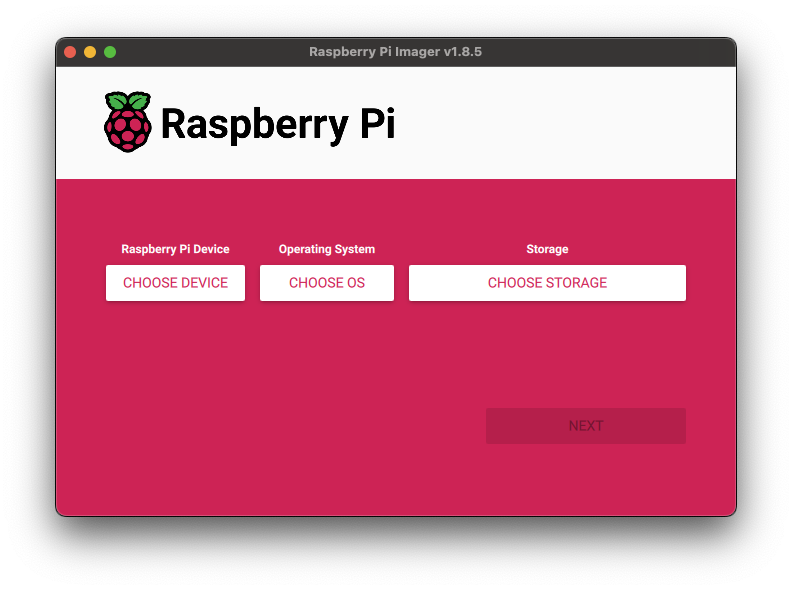
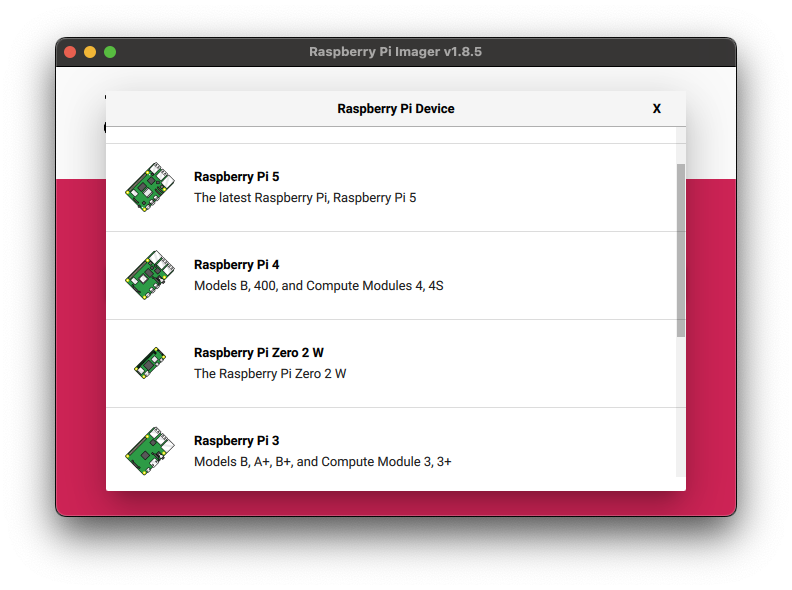
Click CHOOSE DEVICE. Select your model of Pi.
Click CHOOSE OS. Select Raspberry Pi OS (other).
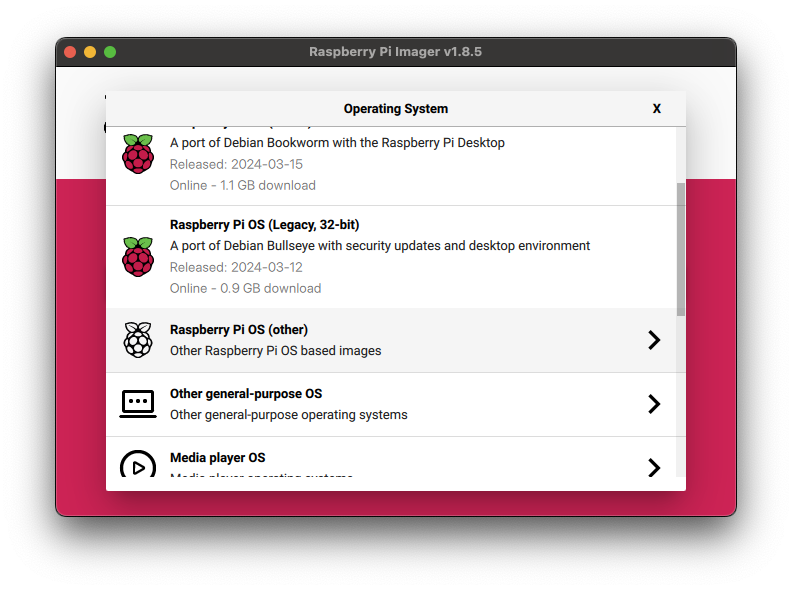
Select Raspberry Pi OS Full (64-bit) or Raspberry Pi OS Full (32-bit) from the menu.

You should be brought back to the initial launch screen.
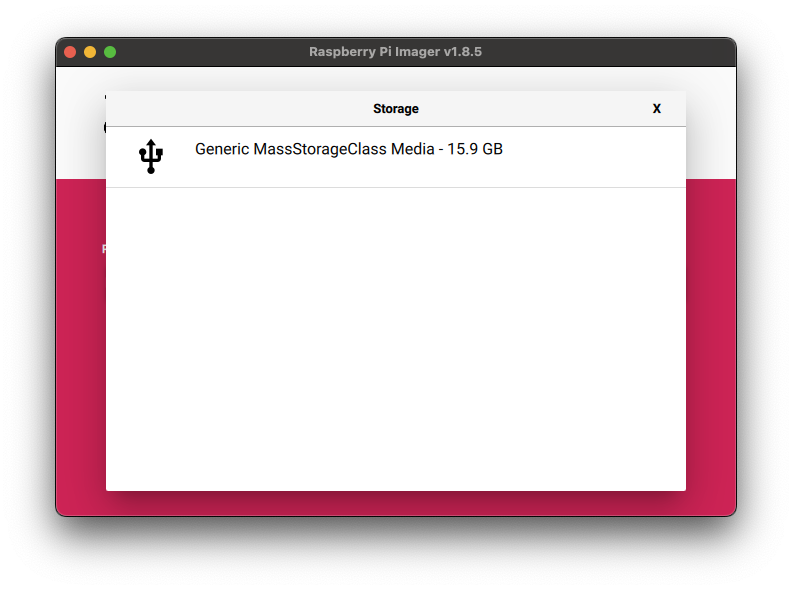
Click CHOOSE STORAGE. From the list of devices, select the microSD card you intend to use in your Raspberry Pi.
If no devices are listed, make sure your microSD card is connected to your computer correctly.
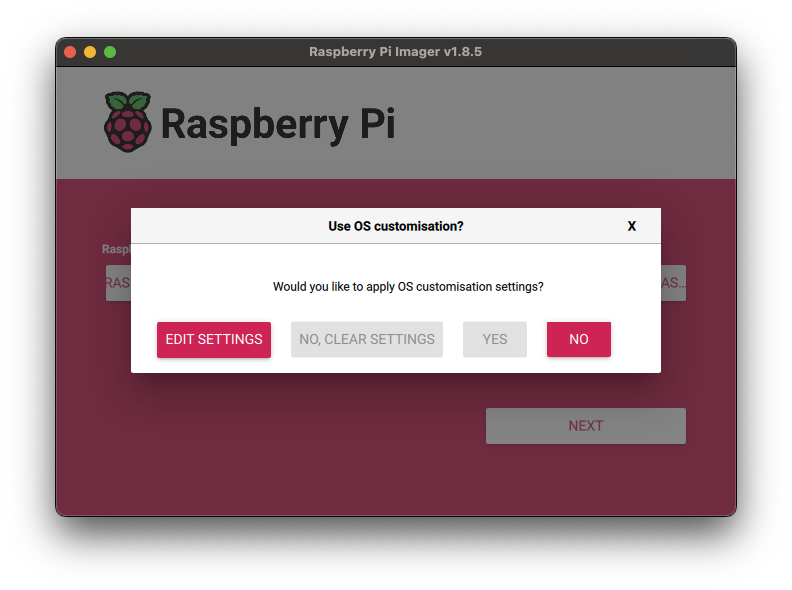
Configure your Raspberry Pi for remote access. Click Next. When prompted to apply OS customization settings, select EDIT SETTINGS.
Important
If you are using a non-Raspberry Pi OS, altering the OS customization settings will cause the initial boot to fail.
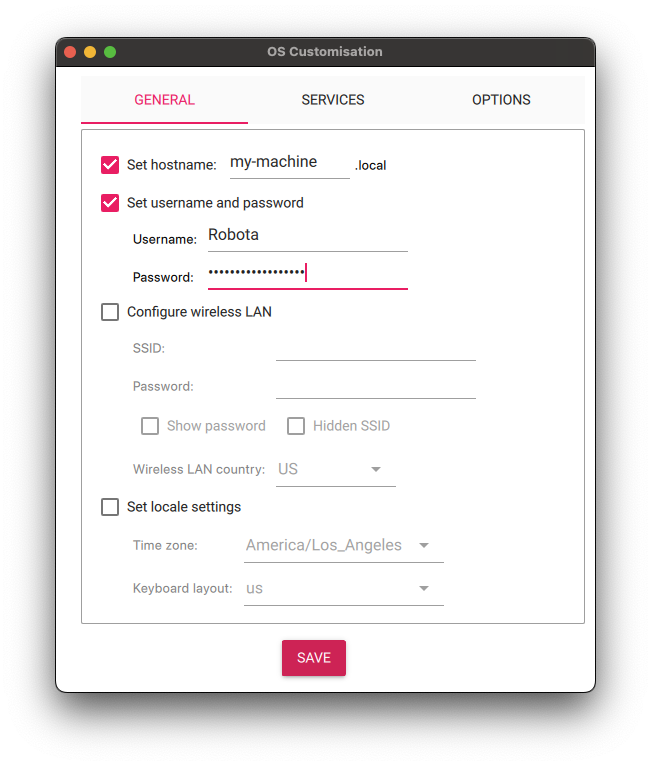
Check Set hostname and enter the name you would like to access the Pi by in that field:

There are two ways you can secure your Raspberry Pi: with an SSH key or with password authentication.
- For a learning project or a fun hobby project, we recommend using password authentication because it is easiest to set up for first-time users.
- For production use, we recommend using SSH keys for more secure authentication; only someone with the private SSH key will be able to authenticate to your system.
Select the checkbox next to Set username and password and set a username (for example, your first name) and a unique password that you will use to log into the Pi:
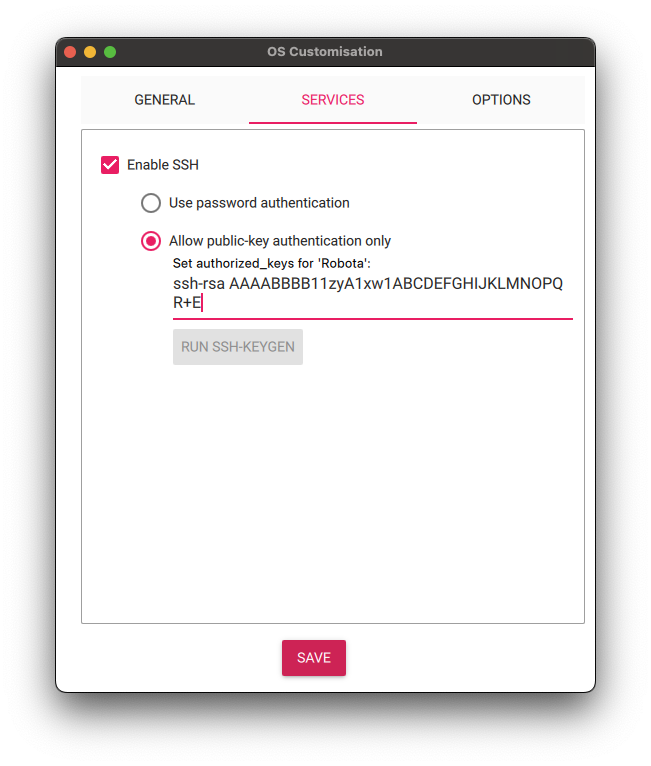
Select the SERVICES tab.
Check Enable SSH.
IMPORTANT
Be sure that you remember the
hostname,username, andpasswordyou set, as you will need them when you SSH into your Pi.Do not use the default username and password on a Raspberry Pi, as this poses a security risk.
To set up SSH authentication:
Select the checkbox for Set username and password and set a username (for example, your first name) that you will use to log into the Pi. If you skip this step, the default username will be
pi(not recommended for security reasons). You do not need to specify a password.
Select the SERVICES tab.
Check Enable SSH.
Select Allow public-key authentication only.
If you select Allow public-key authentication only, and the section Set authorized_ keys for ‘’ is pre-populated, that means you have a public SSH key that is ready to use. In that case, you can leave the pre-populated key as-is. If this section is empty, you can either generate a new SSH key using these instructions, or you can use password authentication instead.
IMPORTANT
Be sure that you remember the
hostnameandusernameyou set, as you will need this when you SSH into your Pi.Lastly, connect your Pi to Wi-Fi so that you can run
viam-serverwirelessly. Check Configure wireless LAN and enter your wireless network credentials. SSID (short for Service Set Identifier) is your Wi-Fi network name, and password is the network password. Change the sectionWireless LAN countryto where your router is currently being operated:
Click SAVE.
Double check your OS and Storage settings and then click
YES: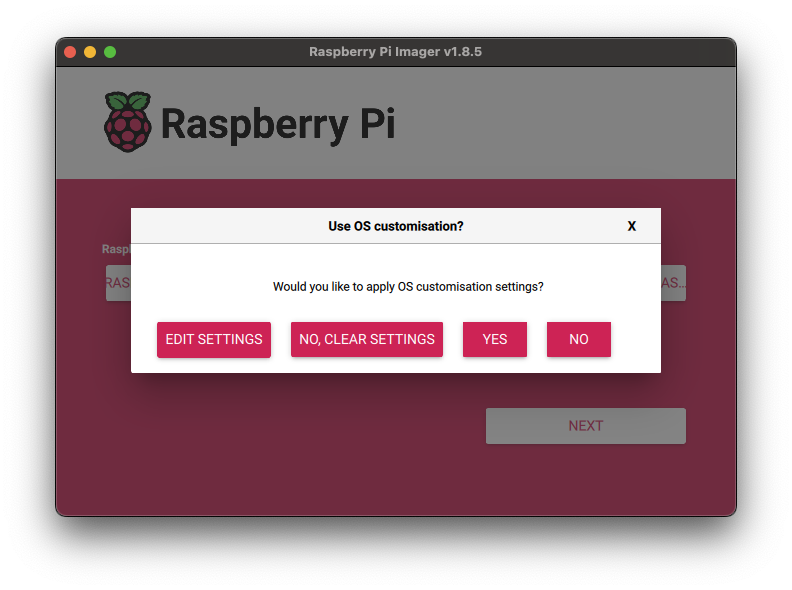
You will be prompted to confirm erasing your microSD card: select
YES.
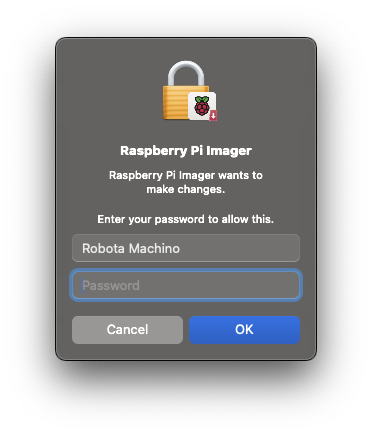
You may also be prompted by your operating system to enter an administrator password:
After granting permissions to the Imager, it will begin writing and then verifying the Linux installation to the MicroSD card.
Remove the microSD card from your computer when the installation is complete.
Tip: How to think about building a machine
While the Imager is flashing your microSD card, we recommend reading How to think about building a machine.
Place the SD card into your Raspberry Pi and boot the Pi by plugging it in to an outlet. A red LED will turn on to indicate that the Pi is connected to power.


Next steps
Continue setting up viam-server on your Raspberry Pi in the Viam app:

Was this page helpful?
Glad to hear it! If you have any other feedback please let us know:
We're sorry about that. To help us improve, please tell us what we can do better:
Thank you!